
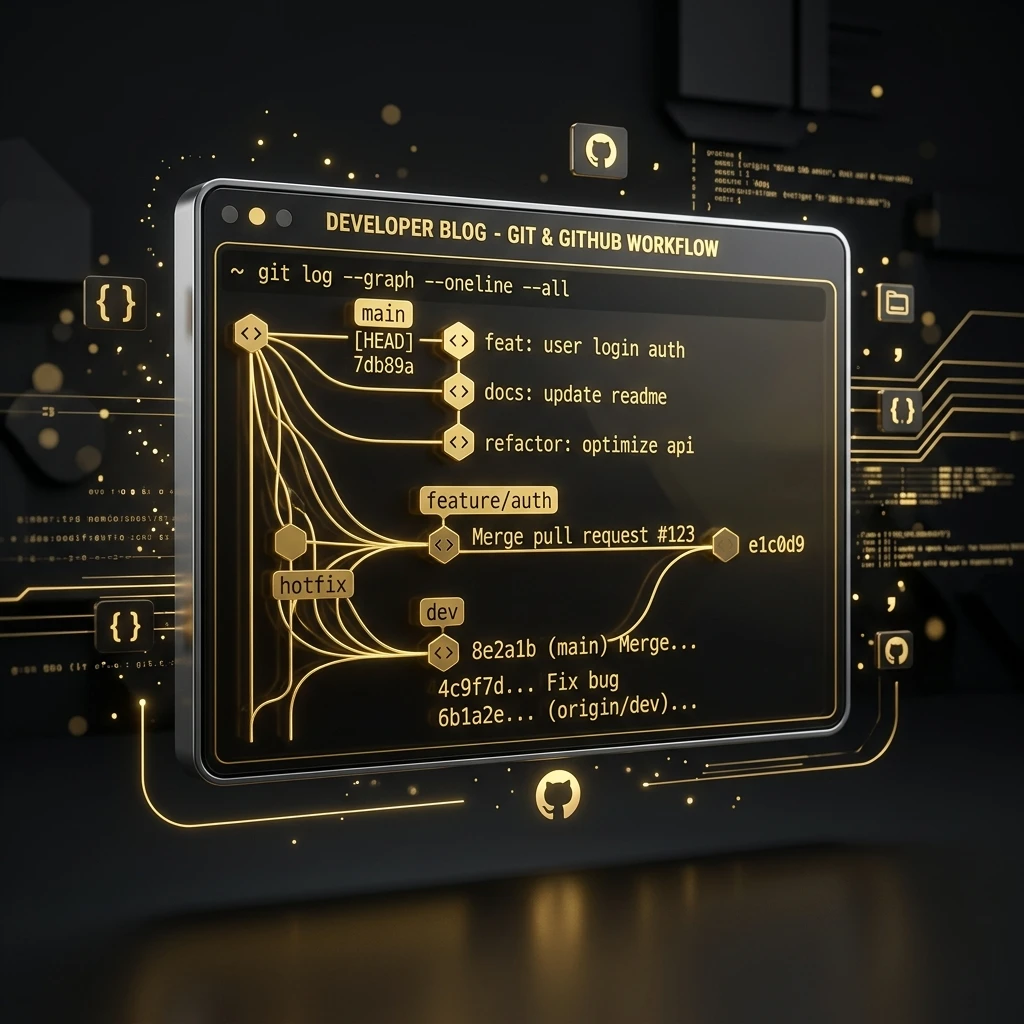
ในการพัฒนาซอฟต์แวร์ไม่ว่าจะทำคนเดียวหรือทำเป็นทีม ปัญหาที่พบบ่อยคือโค้ดพังโดยไม่รู้ตัวเมื่อมีการเขียนฟีเจอร์ใหม่ การนำ Git & GitHub Workflow มาประยุกต์ใช้จะช่วยปกป้องโค้ดสายหลัก (main branch) ให้ทำงานได้อย่างปลอดภัยและพร้อมใช้งาน (Deploy) ตลอดเวลา
หากคุณต้องการมีระบบจัดเก็บและรวมโค้ดที่มีประสิทธิภาพ ไร้กังวลเรื่องการทำโค้ดทับซ้อนหรือโค้ดหาย นี่คือคู่มือปฏิบัติการ Git Workflow ขั้นตอนการทำงานจริงที่คัดเลือกมาอย่างพรีเมียม
ทำไมเราไม่ควรดึงและแก้ไขโค้ดที่กิ่ง main โดยตรง?
กิ่ง main เปรียบเสมือนตึกหน้างานจริงที่เปิดให้บริการแก่ลูกค้า หากมีข้อผิดพลาดแม้เพียงบรรทัดเดียวเกิดขึ้น ทุกคนที่ใช้งานเว็บไซต์จะเห็นเว็บพังทันที ดังนั้น หลักการของ Git Workflow สากลกำหนดให้กิ่ง main ต้องเป็น "กิ่งที่ผ่านการทดสอบแล้วและพร้อมเปิดตัวเสมอ"
ขั้นตอนที่ 1: การสร้างกิ่งแยก (Branching)
ทุกครั้งที่คุณได้รับโจทย์ให้พัฒนาฟีเจอร์ใหม่ หรือแม้กระทั่งการแก้บั๊กย่อย ให้เปิด Terminal และสร้างกิ่งใหม่แยกจากกิ่งหลักเสมอ:
# 1. ย้ายสายงานมาที่กิ่งหลัก main และดึงโค้ดล่าสุดจากคลาวด์ลงมาก่อน
git checkout main
git pull origin main

# 2. สร้างและสลับไปยังกิ่งงานใหม่ตามประเภทฟีเจอร์
git checkout -b feat/add-darkmode
ขั้นตอนที่ 2: การพัฒนาและบันทึกงาน (Commit)
เมื่อคุณเริ่มเขียนหรือแก้ไขโค้ด เมื่อเขียนเสร็จสิ้นแต่ละขั้นตอนย่อย ให้บันทึกการทำงานอย่างมีหลักการผ่าน Commit Messages ที่มีโครงสร้างชัดเจน:
# ตรวจสอบสถานะการแก้ไขไฟล์
git status

# เตรียมย้ายไฟล์เตรียมบันทึก
git add .

# บันทึกด้วย Semantic Commit Message
git commit -m "feat: implement theme toggling system and dark mode styles"feat:เมื่อเพิ่มฟังก์ชันหรือลูกเล่นใหม่ในระบบfix:สำหรับการแก้บั๊กหรือซ่อมหน้าเว็บพังdocs:การเขียนหรือแก้ไขคู่มือการทำงาน (README.md)chore:ปรับแต่งการตั้งค่าระบบภายนอกหรืออัปเดต dependencies
ขั้นตอนที่ 3: ส่งงานขึ้นคลาวด์และสร้าง Pull Request (PR)
เมื่อพัฒนาฟีเจอร์สำเร็จและรันดูผลงานปกติในเครื่องแล้ว ให้ส่งกิ่งใหม่นี้ขึ้นสู่ GitHub เพื่อเข้าสู่กระบวนการตรวจรับความถูกต้อง:
# ส่งกิ่งงานขึ้นเซิร์ฟเวอร์ GitHub
git push -u origin feat/add-darkmode
จากนั้นให้เปิดหน้าเว็บ GitHub Repository ของคุณ จะพบปุ่มแจ้งเตือนสีเหลือง Compare & pull request ให้คลิกเข้าไปเขียนคำอธิบายว่าคุณได้ทำอะไรไปบ้าง แล้วคลิกสร้าง Pull Request (PR)
ขั้นตอนที่ 4: การแก้ไข Merge Conflict (เมื่อไฟล์ชนกัน)
ปัญหายอดฮิตเกิดขึ้นเมื่อนักพัฒนา 2 คนแก้ไขไฟล์เดียวกันและบรรทัดเดียวกันพร้อมๆ กัน เมื่อเราพยายามกดรวมโค้ด (Merge) ระบบ GitHub จะฟ้องว่าเกิด Merge Conflict
วิธีการแก้ไขแบบถูกต้องและง่ายที่สุดคือแก้ไขผ่านโปรแกรม VS Code:
- ย้ายสายงานหลักกลับมารับโค้ดปัจจุบัน:
git checkout main && git pull origin main - ย้ายเข้ากิ่งฟีเจอร์ของเราและรวมกิ่ง
mainเข้ามา:git checkout feat/add-darkmode && git merge main - VS Code จะไฮไลท์บรรทัดที่เป็นปัญหาเป็นสีเขียวและน้ำเงิน ให้เลือกทางออกที่เหมาะสม:
- Accept Current Change: เลือกเฉพาะโค้ดที่เราเขียน
- Accept Incoming Change: เลือกเฉพาะโค้ดของเพื่อนร่วมทีม
- Accept Both Changes: เอาโค้ดของทั้งสองฝ่ายมาทำงานร่วมกัน
- ลบสัญลักษณ์
<<<<<<<,=======,>>>>>>>ออกให้หมด จากนั้นทำการgit add .และgit commit -m "chore: resolve merge conflicts with main"แล้วรันgit pushอีกครั้ง
ขั้นตอนที่ 5: การกดรวมโค้ด (Merge) และดึงโค้ดกลับ
เมื่อตรวจสอบผ่านหน้าจอ PR บน GitHub แล้วไม่มีข้อขัดแย้งของโค้ด ให้คลิกปุ่ม Merge pull request และทำการลบกิ่งฟีเจอร์นั้นออกจากเซิร์ฟเวอร์ เพื่อให้หน้าจอสะอาด จากนั้นย้อนกลับมาที่เครื่องคอมพิวเตอร์ของคุณและเคลียร์กิ่งด้วยการรัน:
git checkout main
git pull origin main
git branch -d feat/add-darkmode
เพียงเท่านี้คุณก็ได้พัฒนาฟีเจอร์เสร็จสิ้นอย่างสมบูรณ์ และมีกิ่ง main ที่ทันสมัยและใช้งานได้เสมอครับ! 🌟
Whether working solo or in teams, code integrity is easily compromised when developers work directly on production lines. Adopting a structured Git & GitHub Workflow guarantees that your main branch remains stable, tested, and always deployable.
The Golden Rule: Never Commit to Main Directly
The main branch represents the live environment. An untested commit pushed directly to main can cause immediate downtime. Developers should always branch out, write code, run audits, and merge via Pull Requests.
Step 1: Create a Feature Branch
Before starting on any new features or bug fixes, fetch the latest code from remote and branch out:
# 1. Update main branch
git checkout main
git pull origin main

# 2. Spawn feature branch
git checkout -b feat/add-darkmode
Step 2: Commit Semantically
Commit your work in small, logical increments. Use semantic naming prefixes to structure your project history:
# Check updated files
git status

# Stage files
git add .

# Semantic commit message
git commit -m "feat: implement theme toggling system and dark mode styles"feat:Adding a new feature or interactive element.fix:Patching script exceptions or rendering bugs.docs:Modifying manuals, READMEs, or documentation.chore:Changing configuration settings or updating npm packages.
Step 3: Push and Open a Pull Request (PR)
Send your branch to the remote repository and initiate code review:
# Push branch to GitHub
git push -u origin feat/add-darkmode
Open your repository on GitHub, click Compare & pull request, outline your changes, and submit the PR for code inspection.
Step 4: Handling Merge Conflicts
Merge conflicts occur when separate developers edit the same lines of a file concurrently. To resolve a conflict using VS Code:
- Fetch latest master changes:
git checkout main && git pull origin main - Merge main into feature branch:
git checkout feat/add-darkmode && git merge main - Resolve highlighted conflicting regions using VS Code's quick actions (e.g. Accept Current vs Accept Incoming).
- Save file, run
git add ., and commit changes:git commit -m "chore: resolve conflicts" && git push.
Step 5: Merge and Cleanup
Once checked and approved, click Merge pull request on GitHub, then clean up your local branch stack:
git checkout main
git pull origin main
git branch -d feat/add-darkmode
ความคิดเห็น (1) Responses (1)
เมื่อก่อนเจอปัญหา conflict แล้วกลัวมากค่ะ พออ่านสเต็ปการทำใน VS Code หน้านี้แล้ว เข้าใจวิธีการดึง main มาช่วย merge ในกิ่งเราเลย สภาพจิตใจดีขึ้นเยอะเลยค่ะ Merge conflicts used to scare me. Reading this guide makes merging main into the feature branch so logical and easy. Thank you!